01 · The angles
We tried math. Then we tried looking at it.
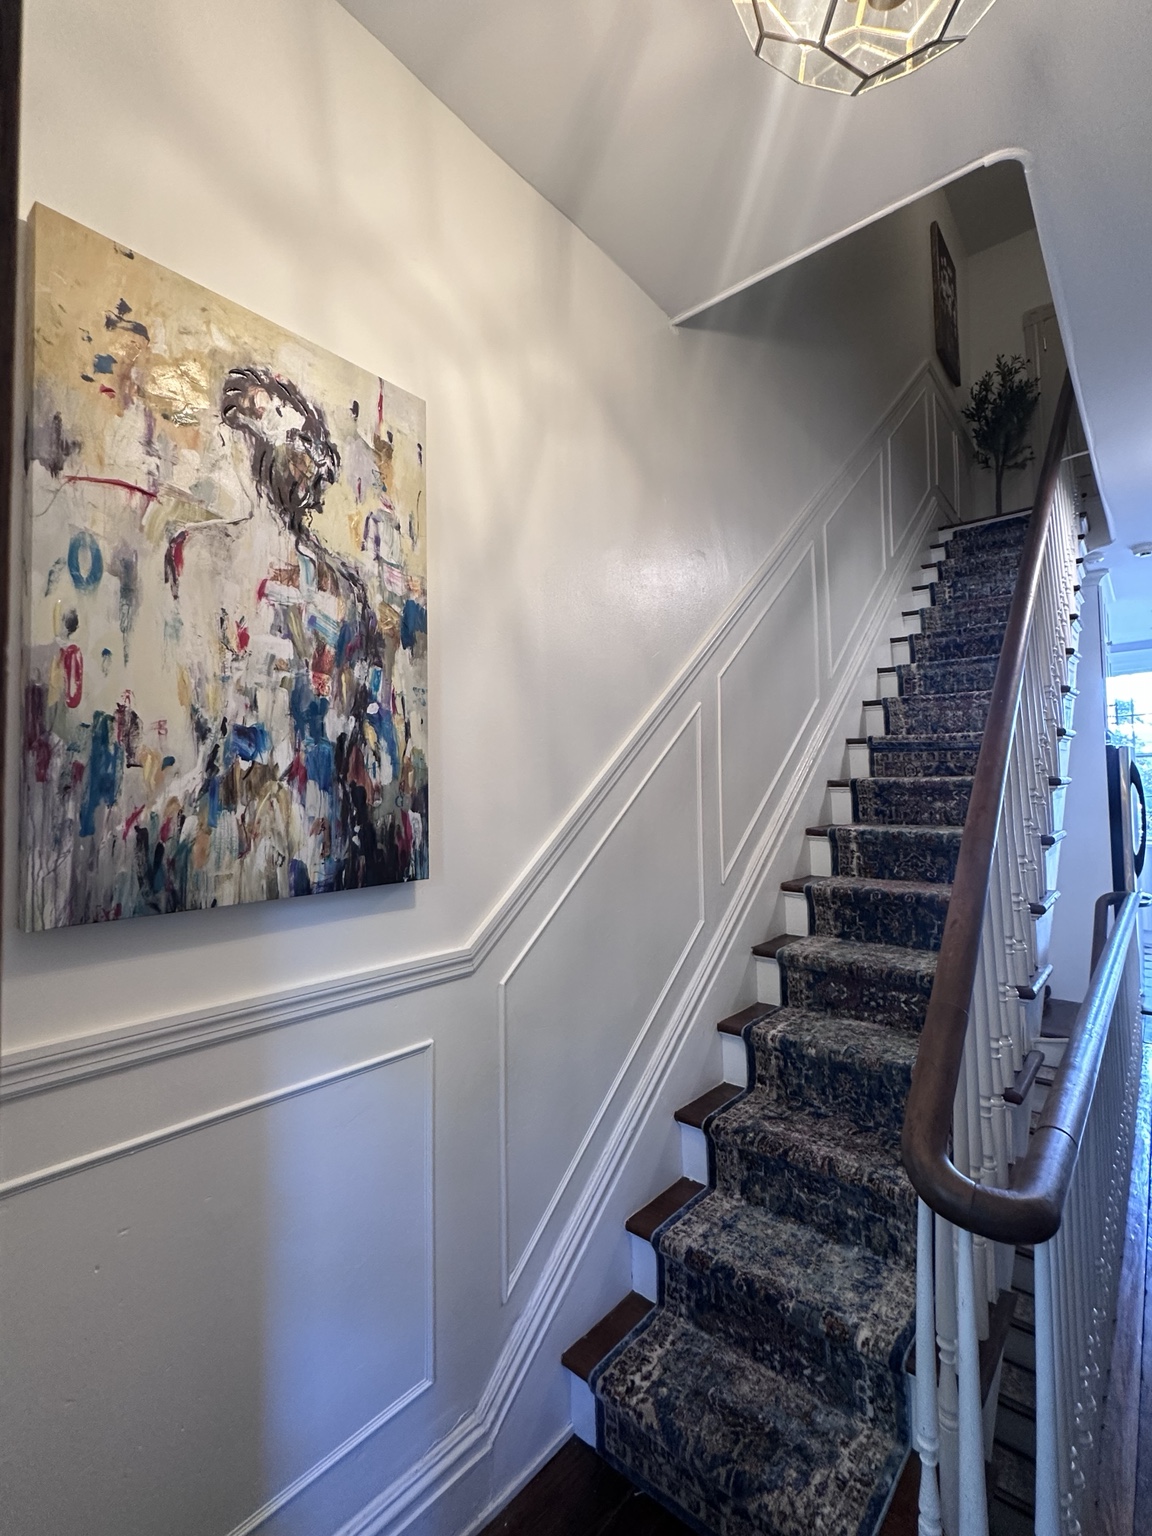
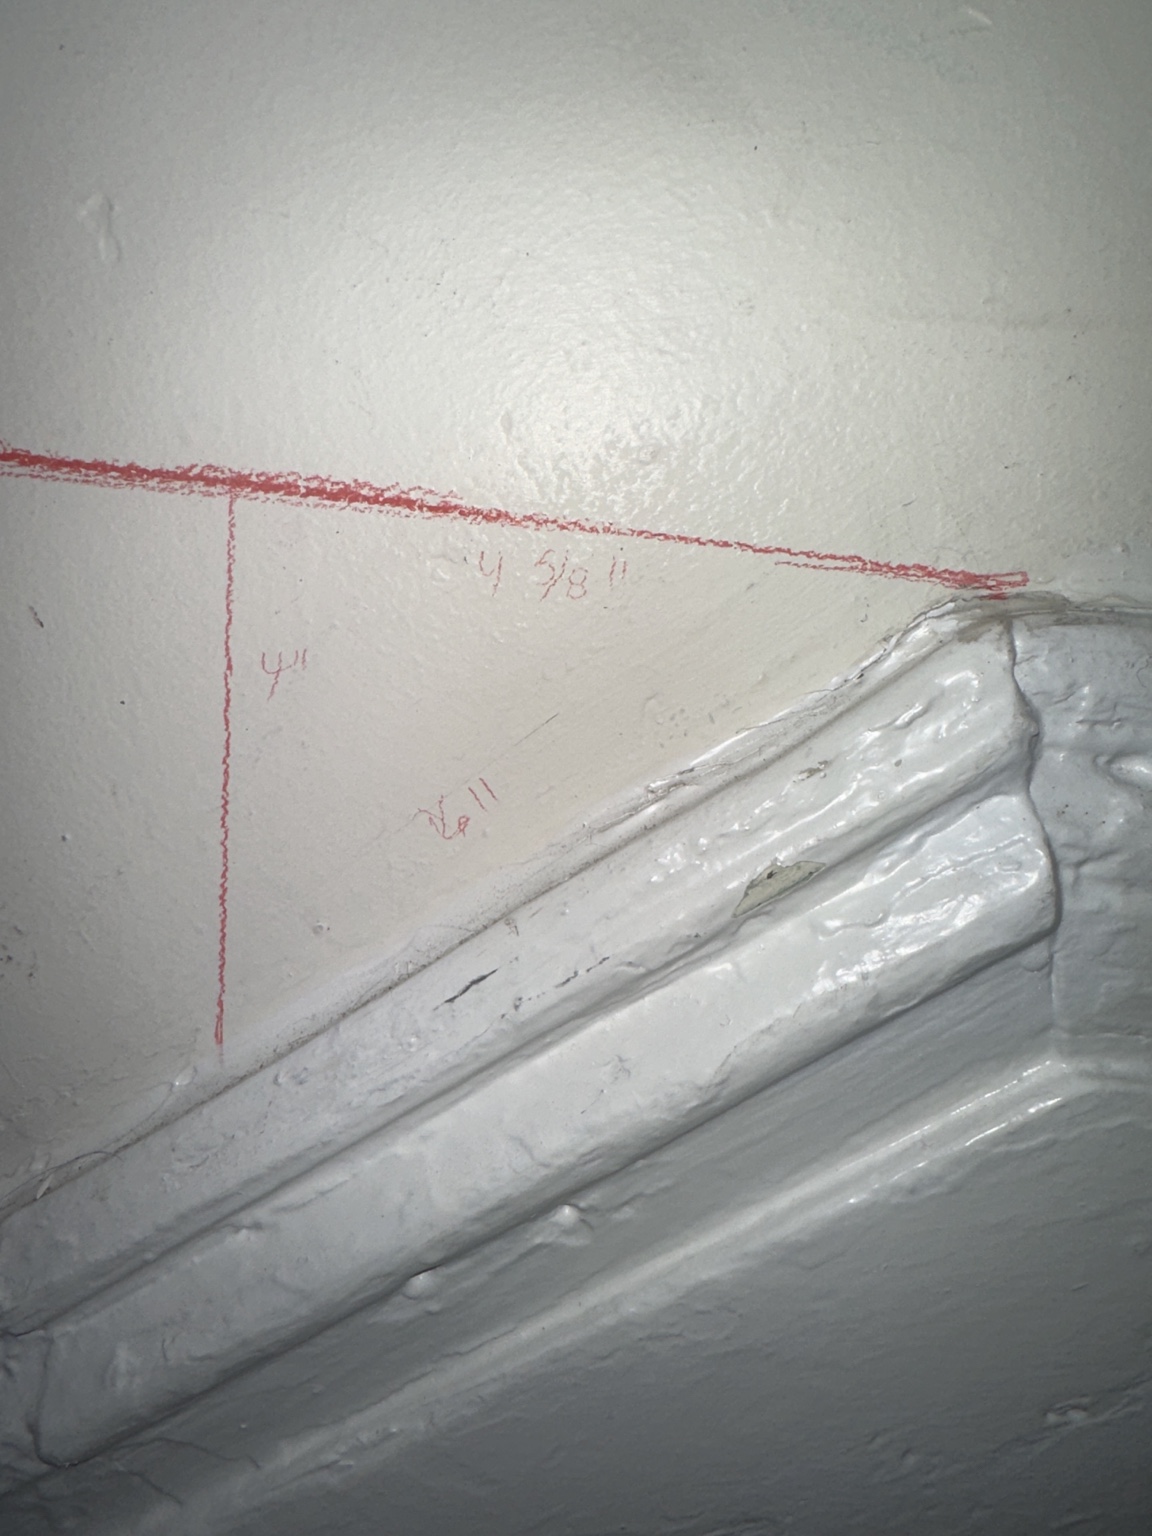
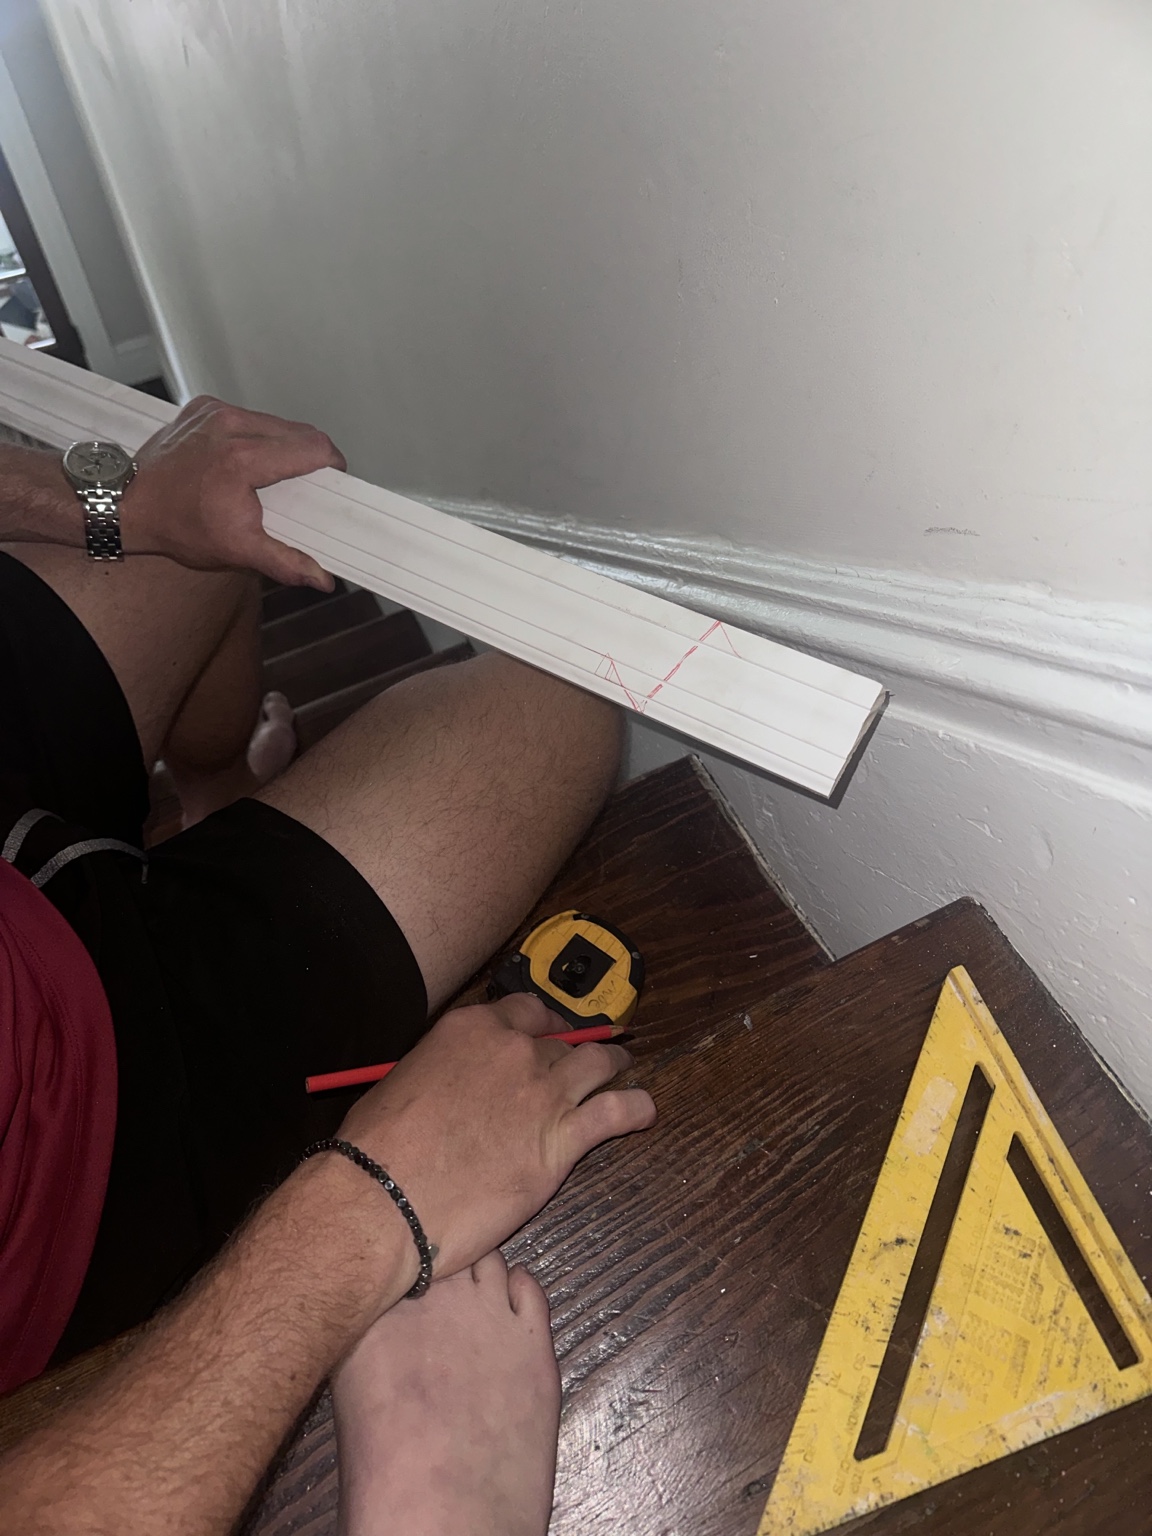
The stairwell does not follow one clean slope from top to bottom. About halfway down, the angle changes and becomes steeper. That made installing the chair rail much harder than the phrase “install the chair rail” would suggest.
We spent a truly unreasonable amount of time doing the Pythagorean theorem in pencil on the wall, trying to calculate the perfect angles. Eventually, as we have done in many rooms, we gave up and moved to what I like to call vibe leveling. Does it look level? Yes? Nail it.
02 · The molding
Once the chair rail worked, the boxes were mercifully simple
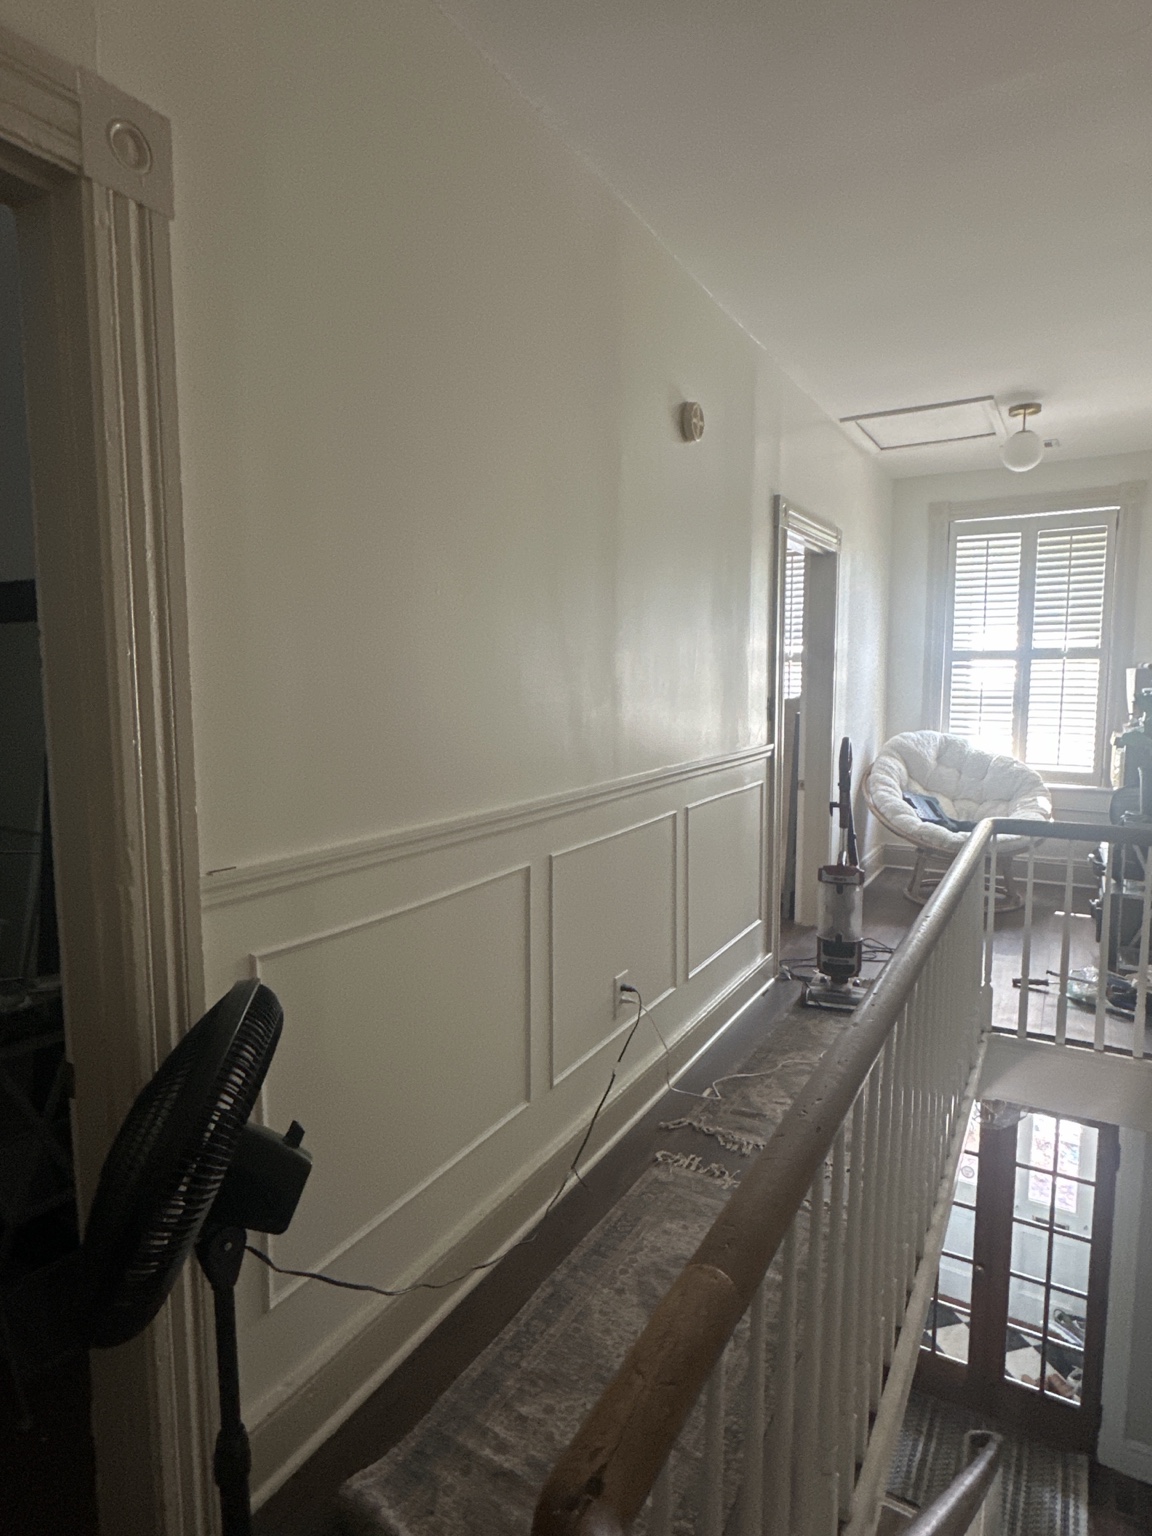
The chair rail established the line everything else needed to follow. Once that was finally attached, laying out and installing the picture frame boxes underneath it was much more straightforward.
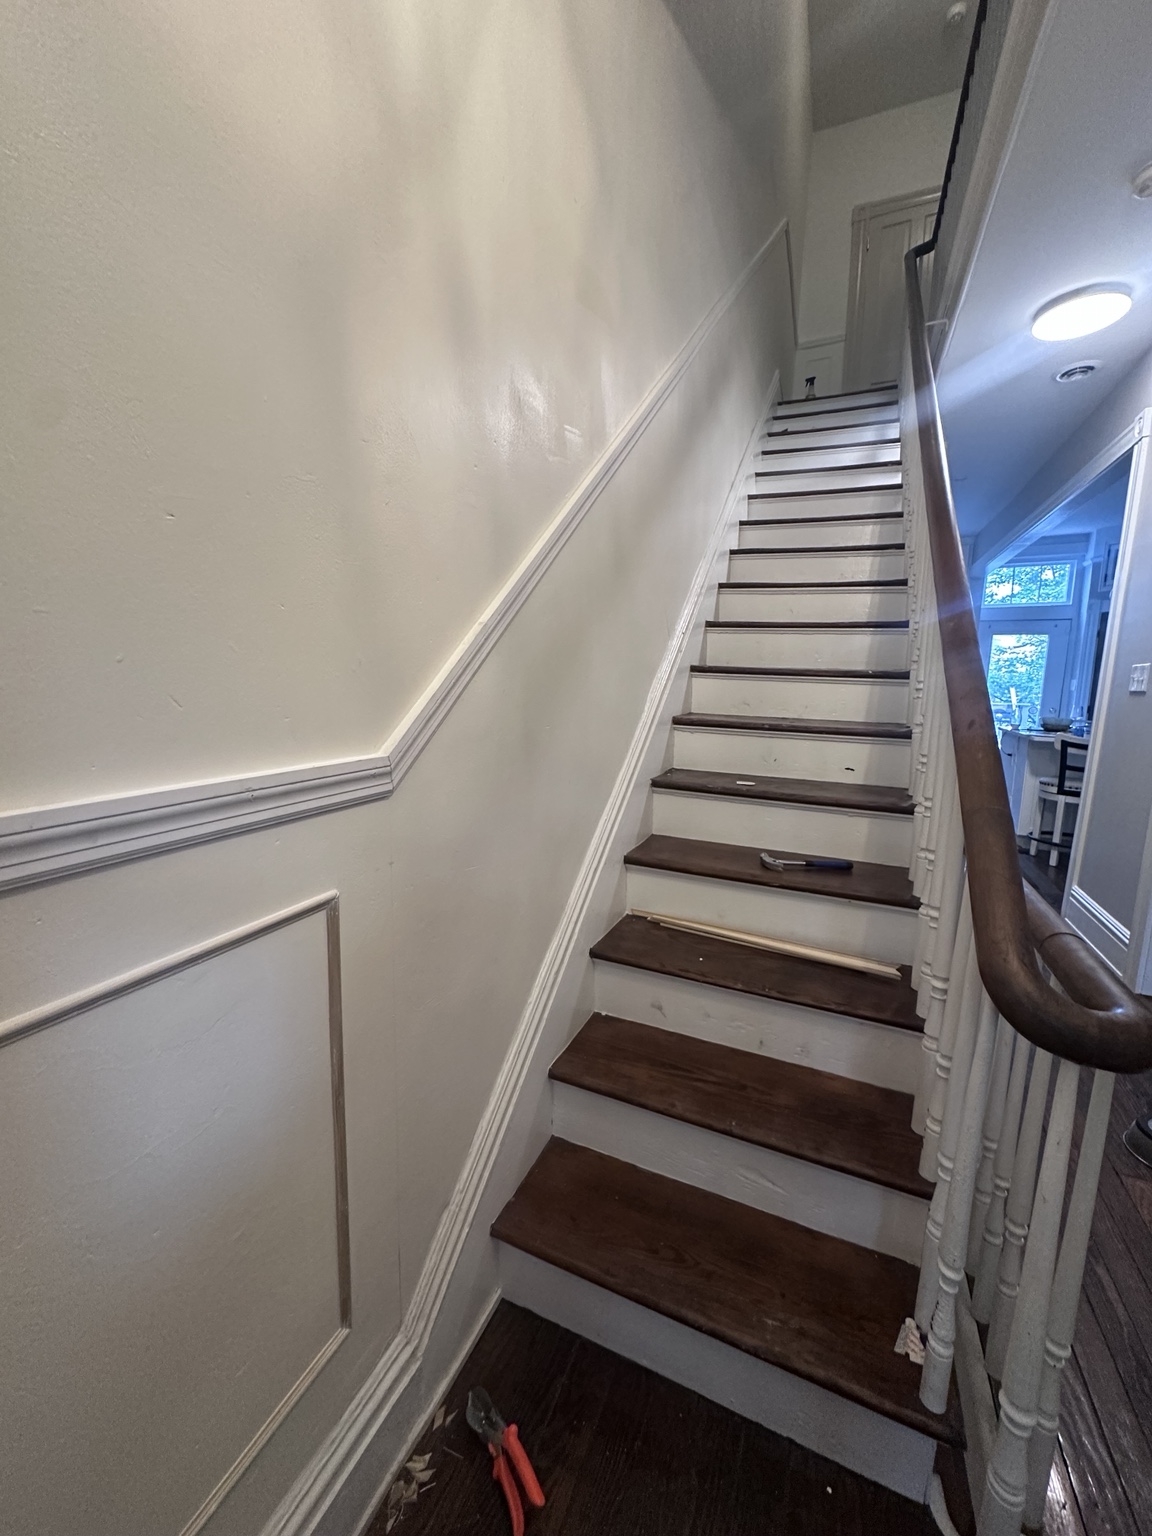
Upstairs, the angles were easier, but the wall itself was not straight. Some pieces of molding had to be carefully bent and persuaded into place so they would sit against it.
03 · The runner
Three banana-peel falls were enough
The stairs are shallower than modern stairs, their edges are rounded, and the whole run shifts slightly from left to right instead of traveling in a perfectly straight line. I had already slipped while running down them exactly three times, each one a full banana-peel-style fall, before we accepted that the stairs needed more grip.
Fitting the runner around those uneven angles was another challenge, but it made the stairs much safer. It also helps protect the wood from Bailey and Maggie charging up and down them every day.
04 · The upstairs hall
The same detail, without quite as much geometry
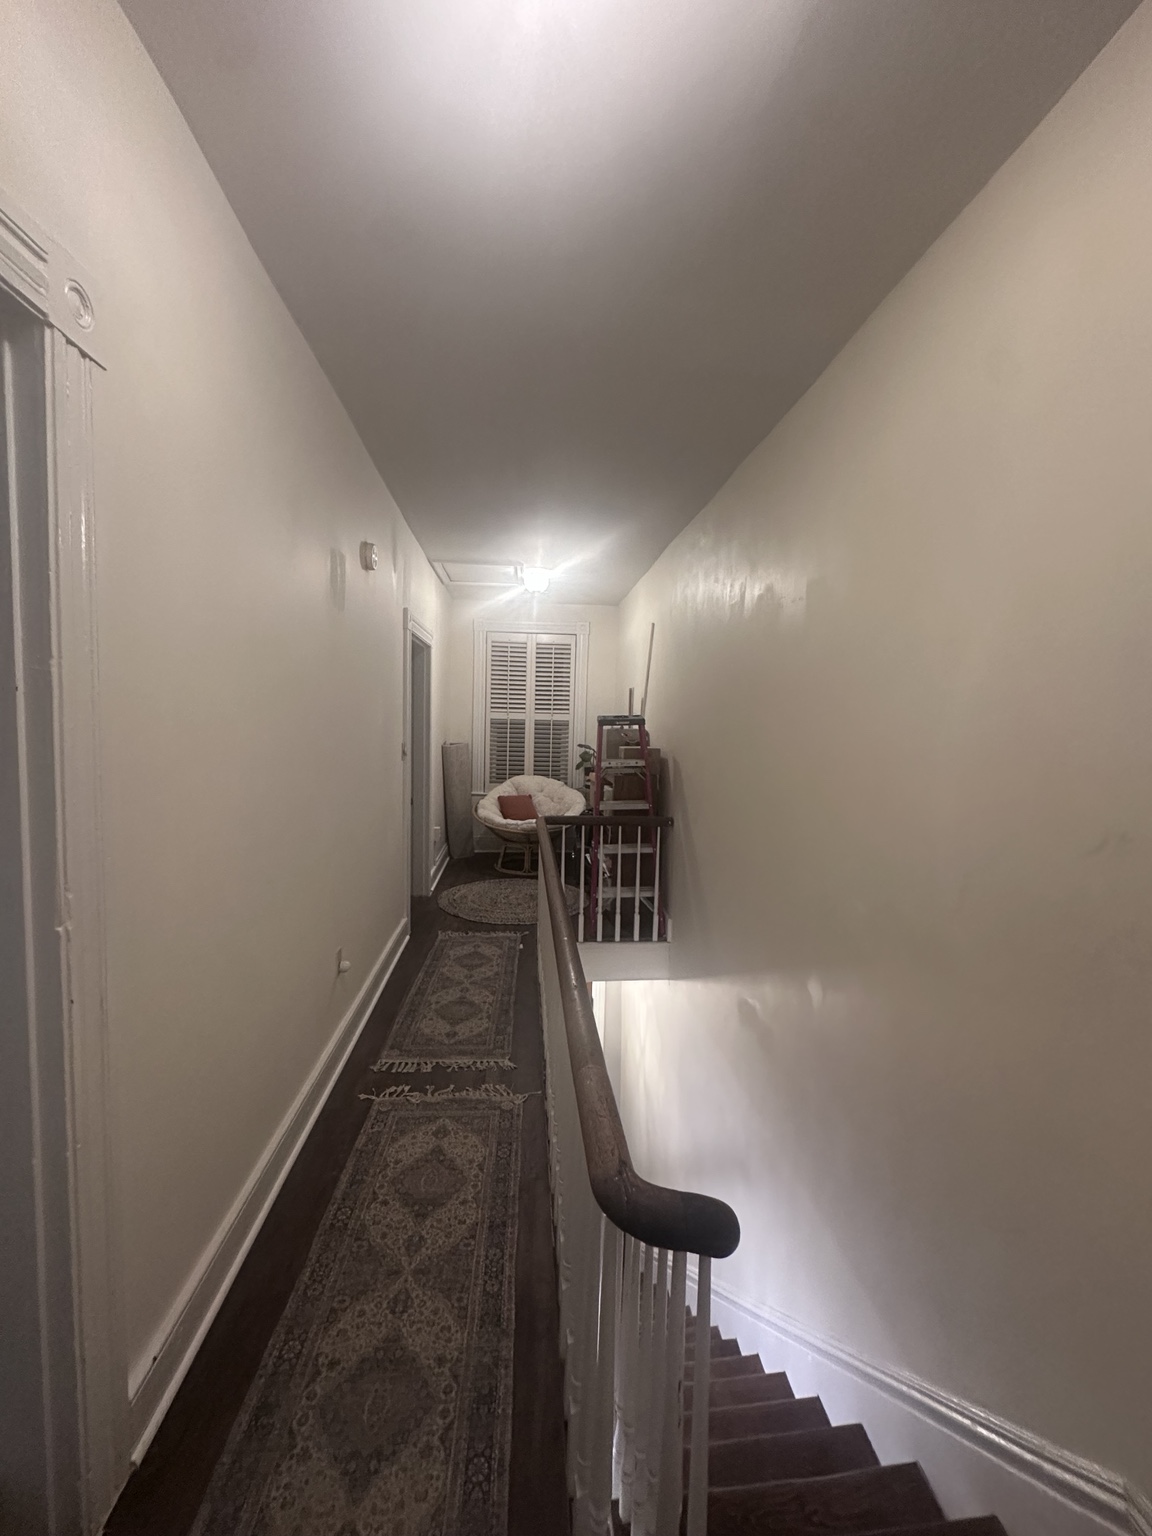
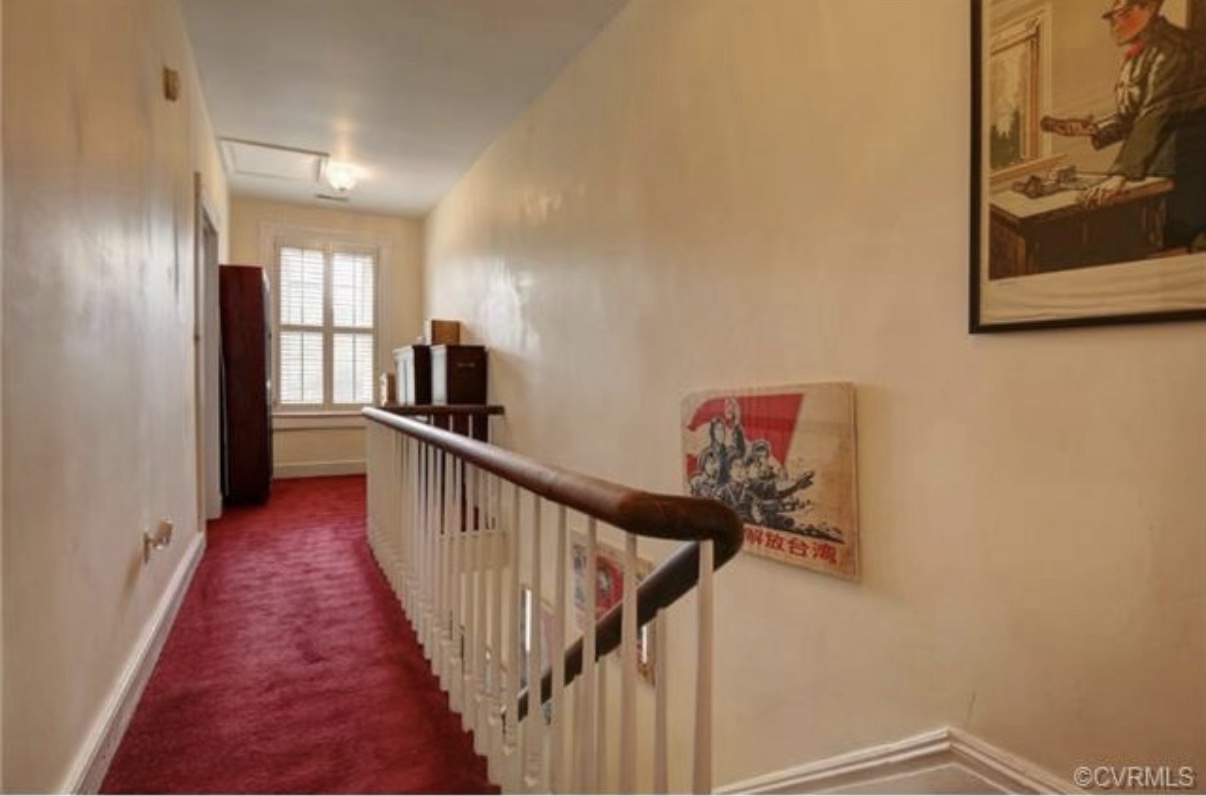
Before any of this, the upstairs hall was covered in an aggressively red wall-to-wall carpet. Removing it and dealing with the floors underneath became an entirely different project, so that story deserves its own post.
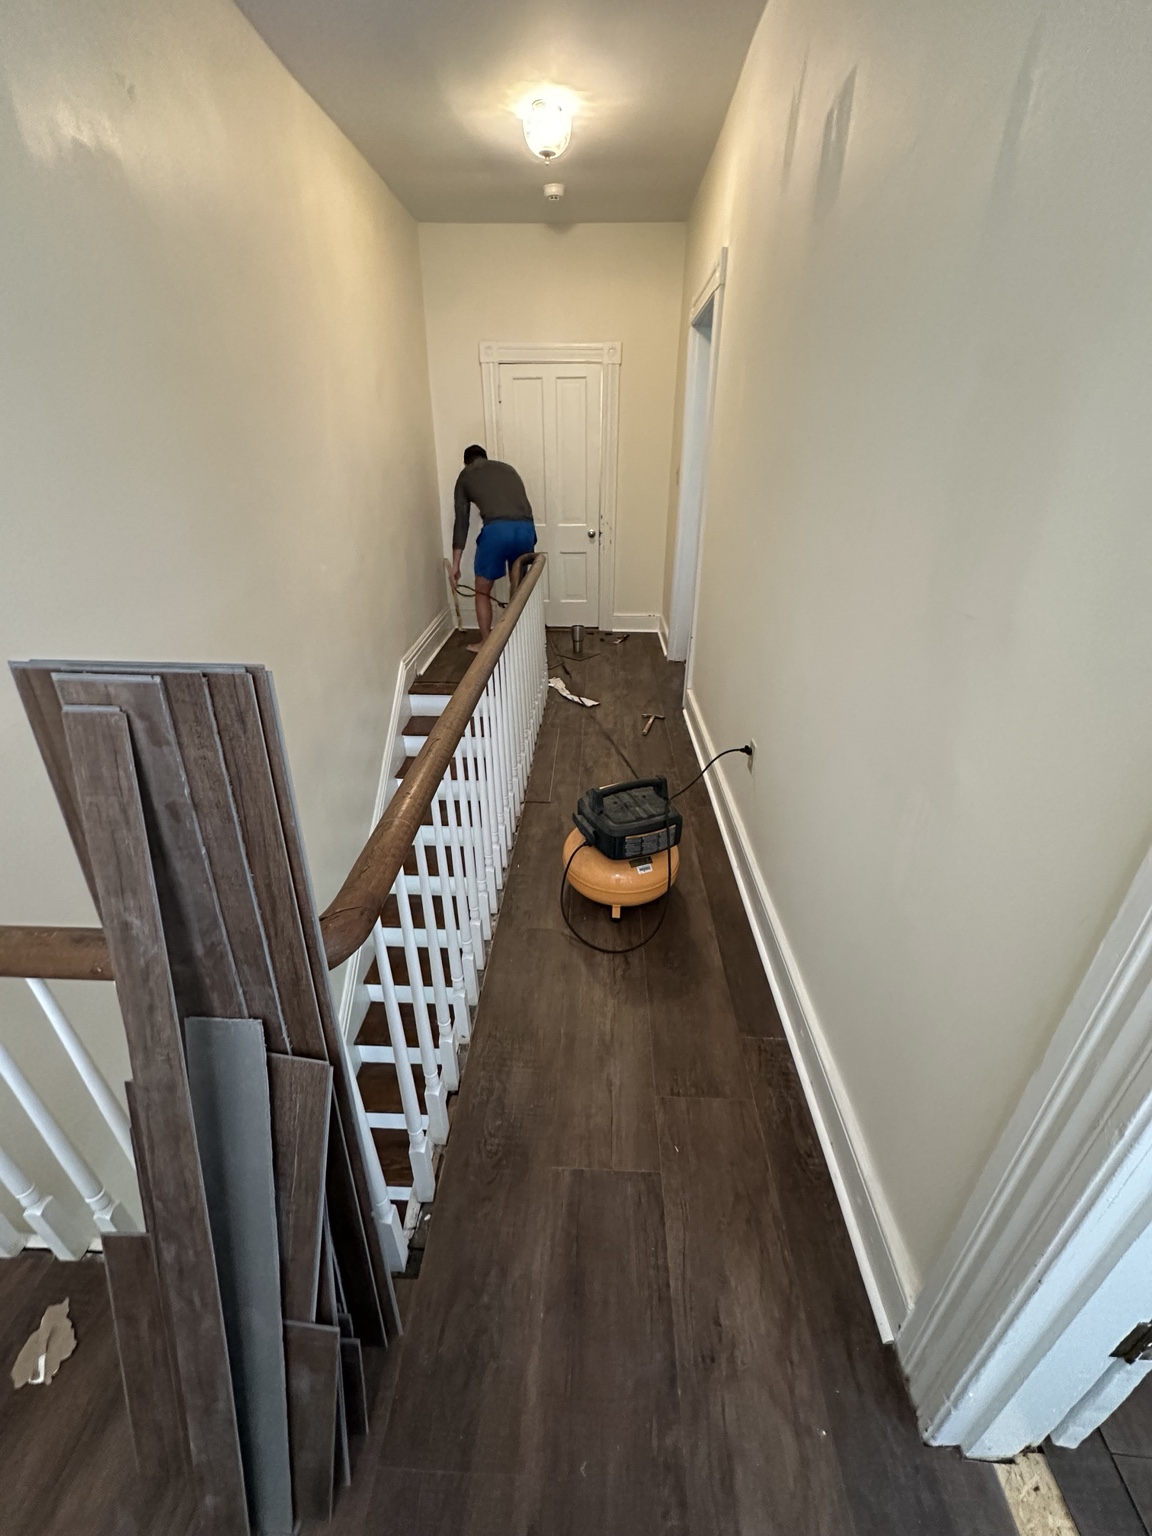
We carried the picture frame molding into the upstairs hallway and replaced the light fixtures. Painting above the open stairwell required a collection of pole extensions and some creative decision-making because we refused to hire a painter for that one impossible section.
05 · Eventually
A reading nook, probably
The small open area at the end of the hall will eventually become a reading nook, possibly with built-in bookcases. We have also considered closing it in to make one large walk-in closet, but that would block the hallway’s main source of natural light. For now, the reading nook is winning.
The molding, lighting, and runner were not major structural changes, but together they made the staircase and hallway feel connected to the rest of the house. They also mean I can run downstairs without reenacting a cartoon.