01 · The starting point
One sink and essentially nowhere to put anything
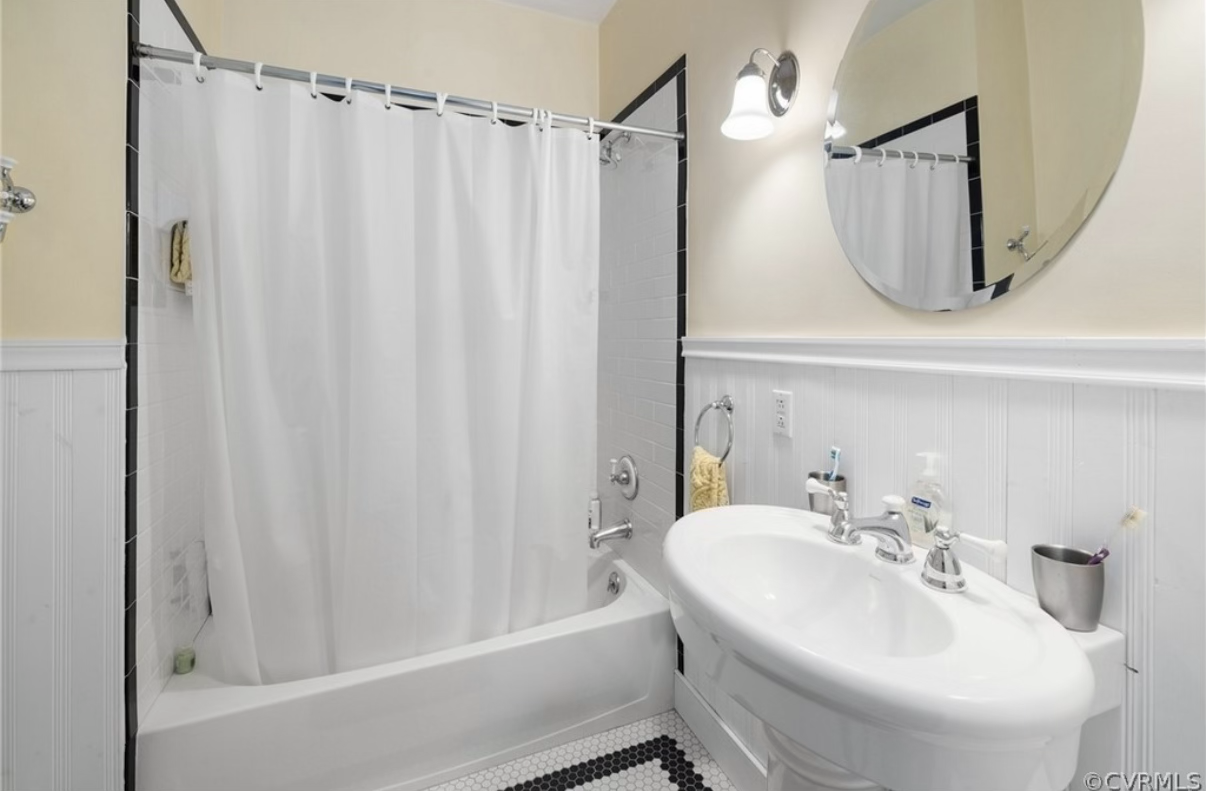
The bathroom connects to the largest bedroom, so it tends to get called the master bathroom. It is not a modern master ensuite. There are two bedrooms upstairs and one bathroom, which is much more in line with an old house that was built long before private bathrooms became the expectation.
It had one vanity and almost no useful storage. The room itself was not bad enough to justify tearing everything out, but it was not working very hard either.
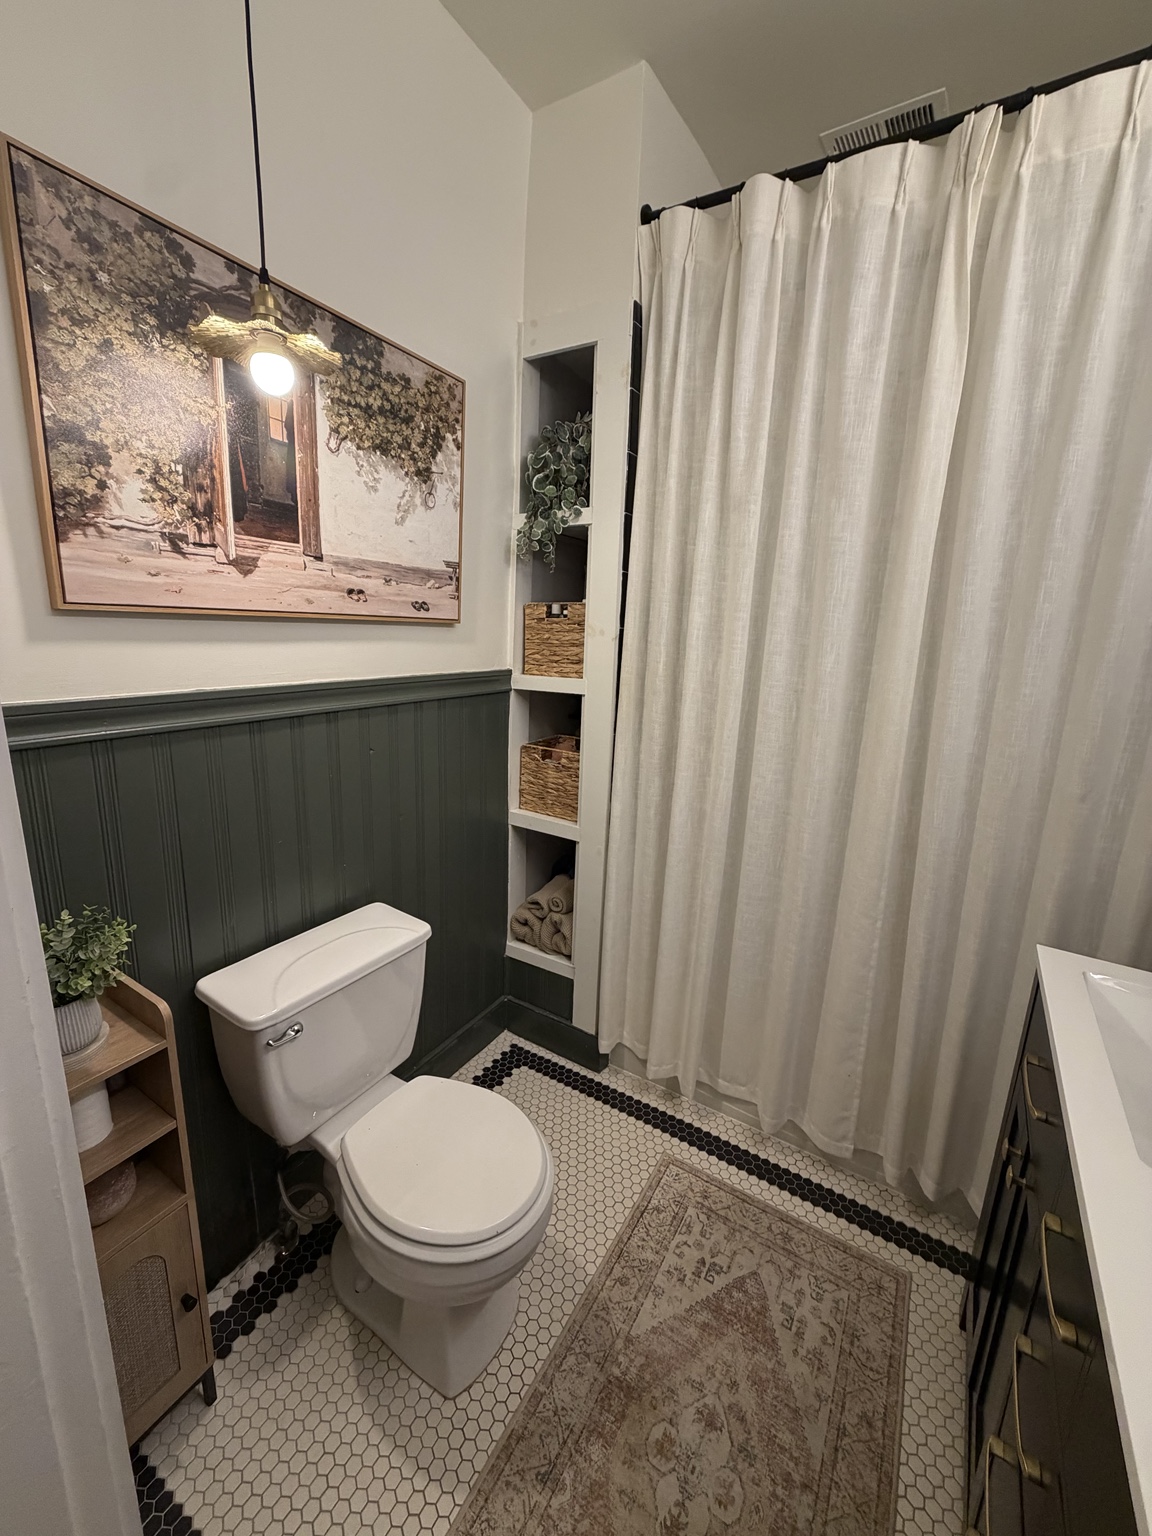
We adored the original black-and-white hex floor and white subway tile around the tub, so those were always staying. The deep green beadboard, black vanity, black mirrors, and brass hardware were chosen to lean into those features instead of trying to make the room look brand new.
02 · Vanity, mirrors and light
Finding a double vanity that actually fit
A double vanity felt necessary in the only bathroom upstairs, but finding one that fit the available wall took longer than expected.
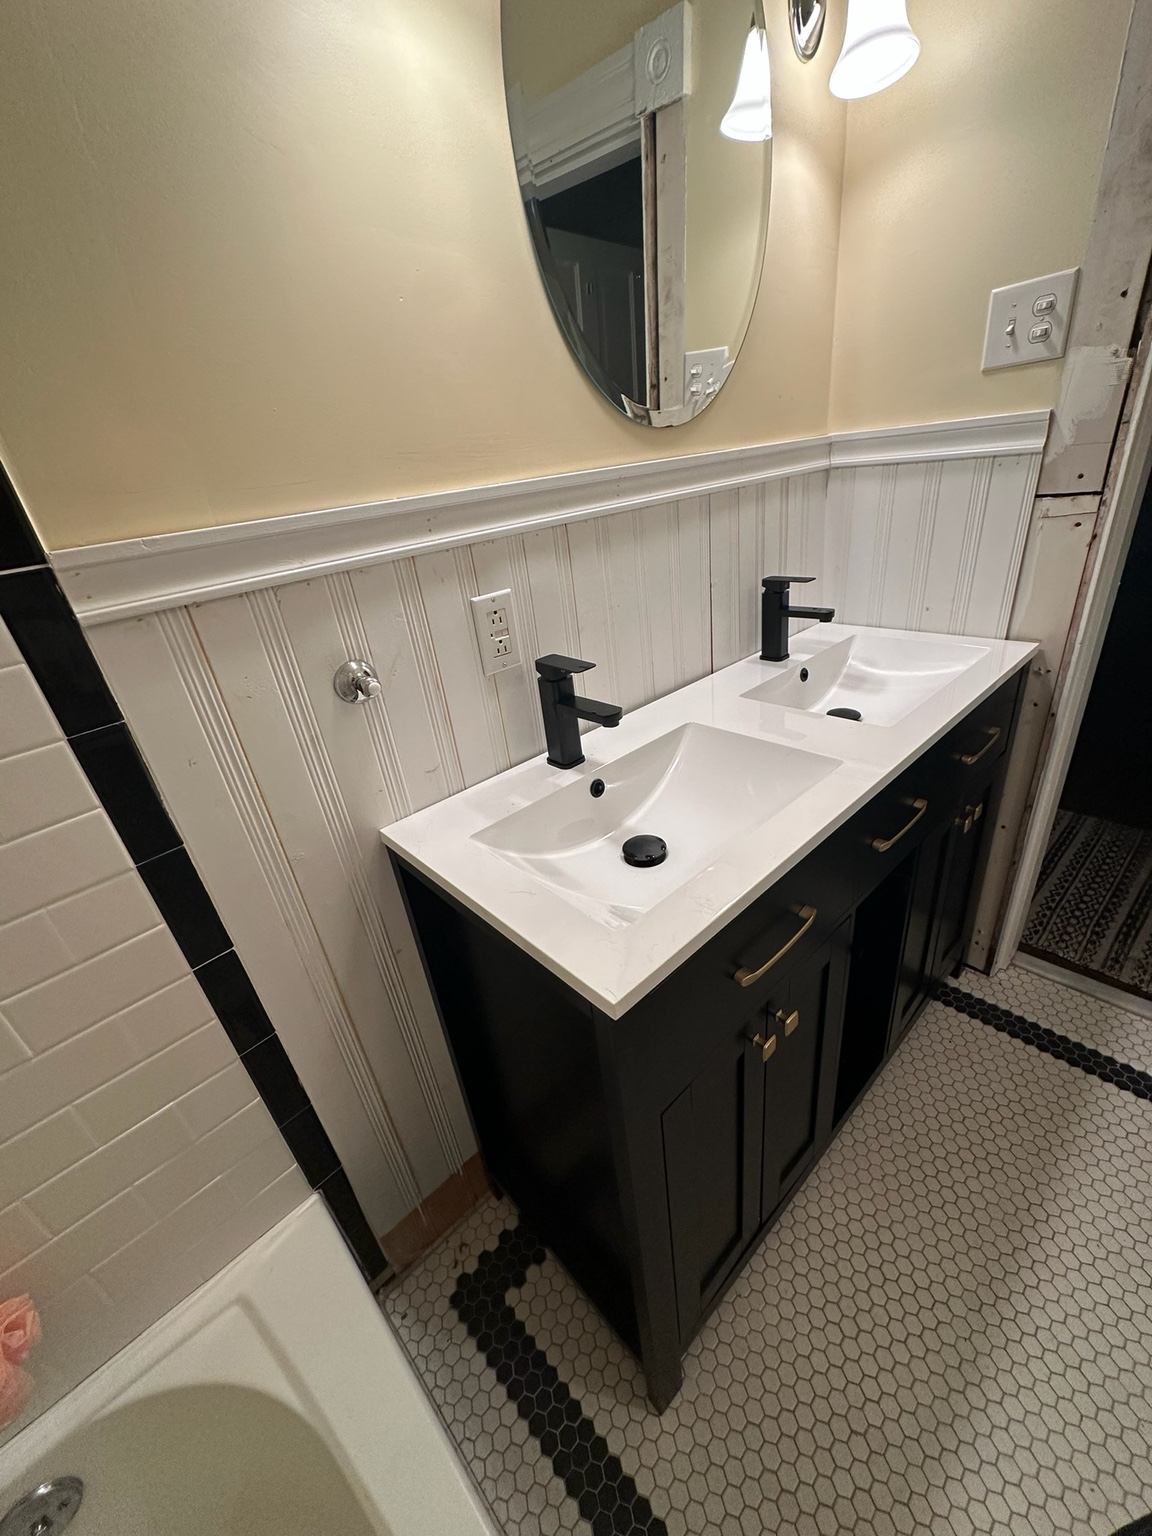
We used two arched medicine-cabinet mirrors so both sides gained storage. They are surface mounted rather than recessed because there is plumbing behind that wall. They sit out from the wall a little, but the black frames make it feel intentional.
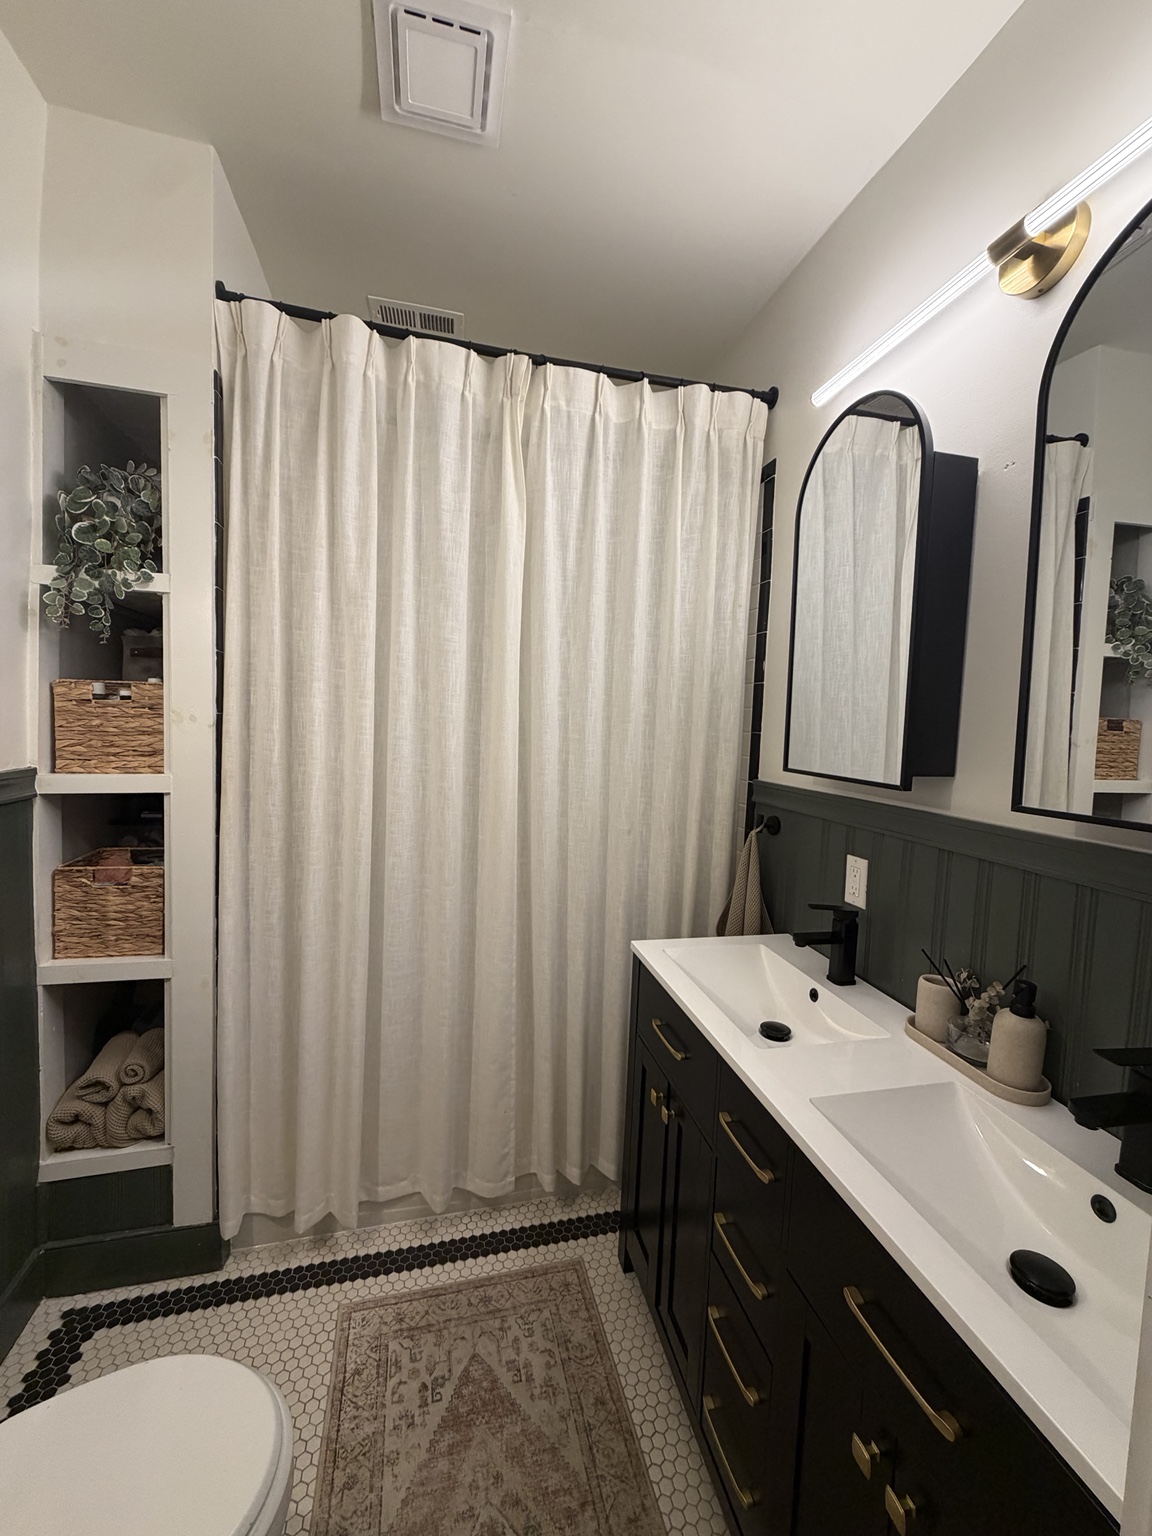
We replaced the small side sconces with a single linear light, updated the exhaust vent, and painted the beadboard a deep green. The room finally had storage, two sinks, and lighting that did not feel left over from a different bathroom.
03 · The 8 p.m. decision
I was convinced the wall was hollow
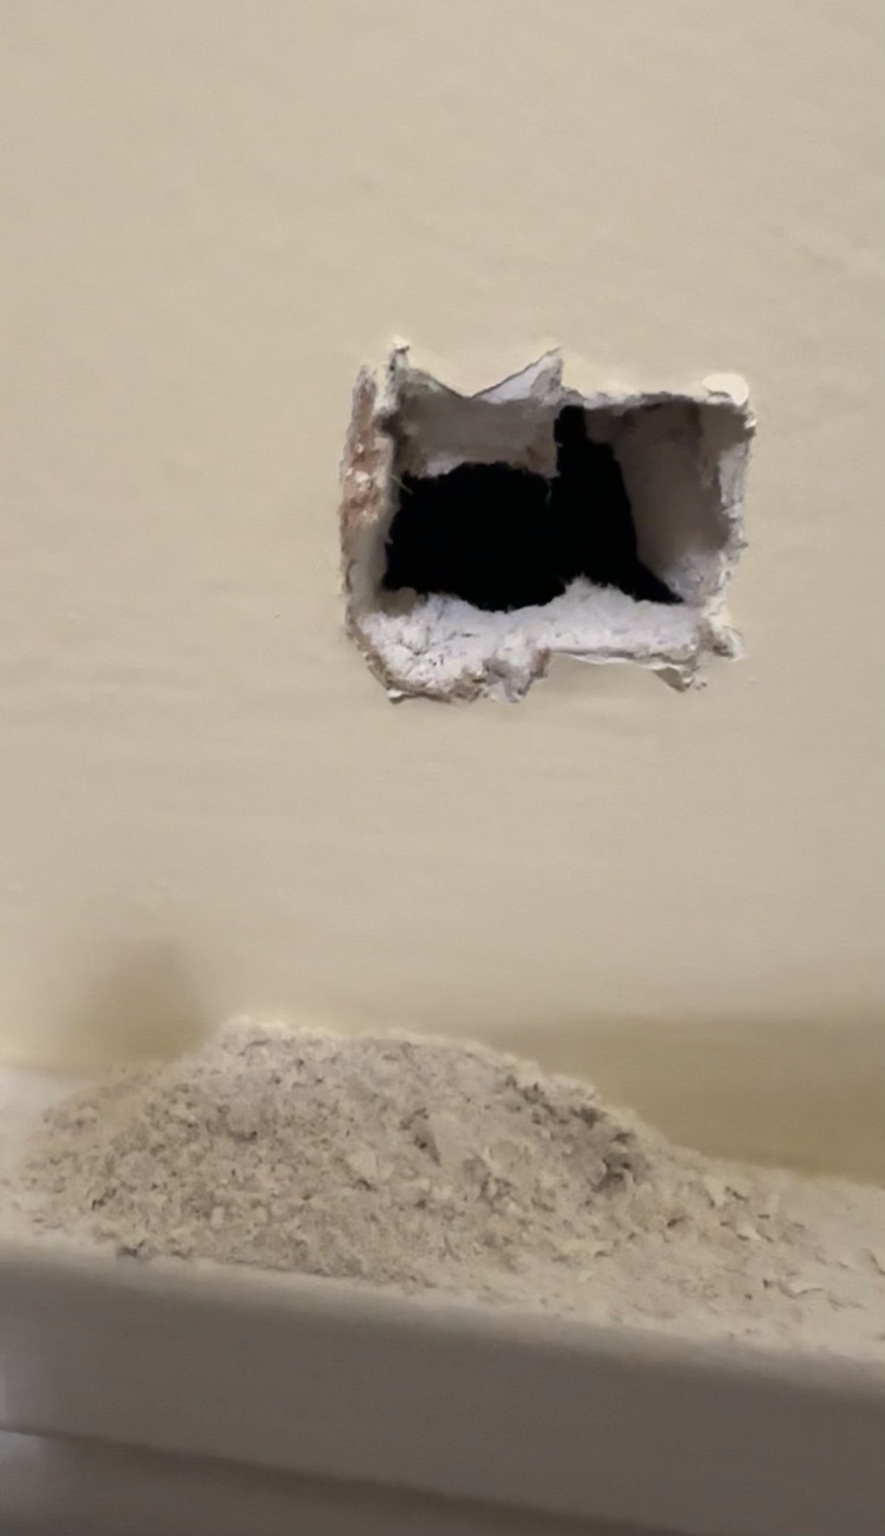
One night, while brushing my teeth before bed, I became convinced the narrow area behind the shower was completely empty. We had been complaining about storage while apparently sealing off an entire vertical cavity, which started to feel personally offensive.
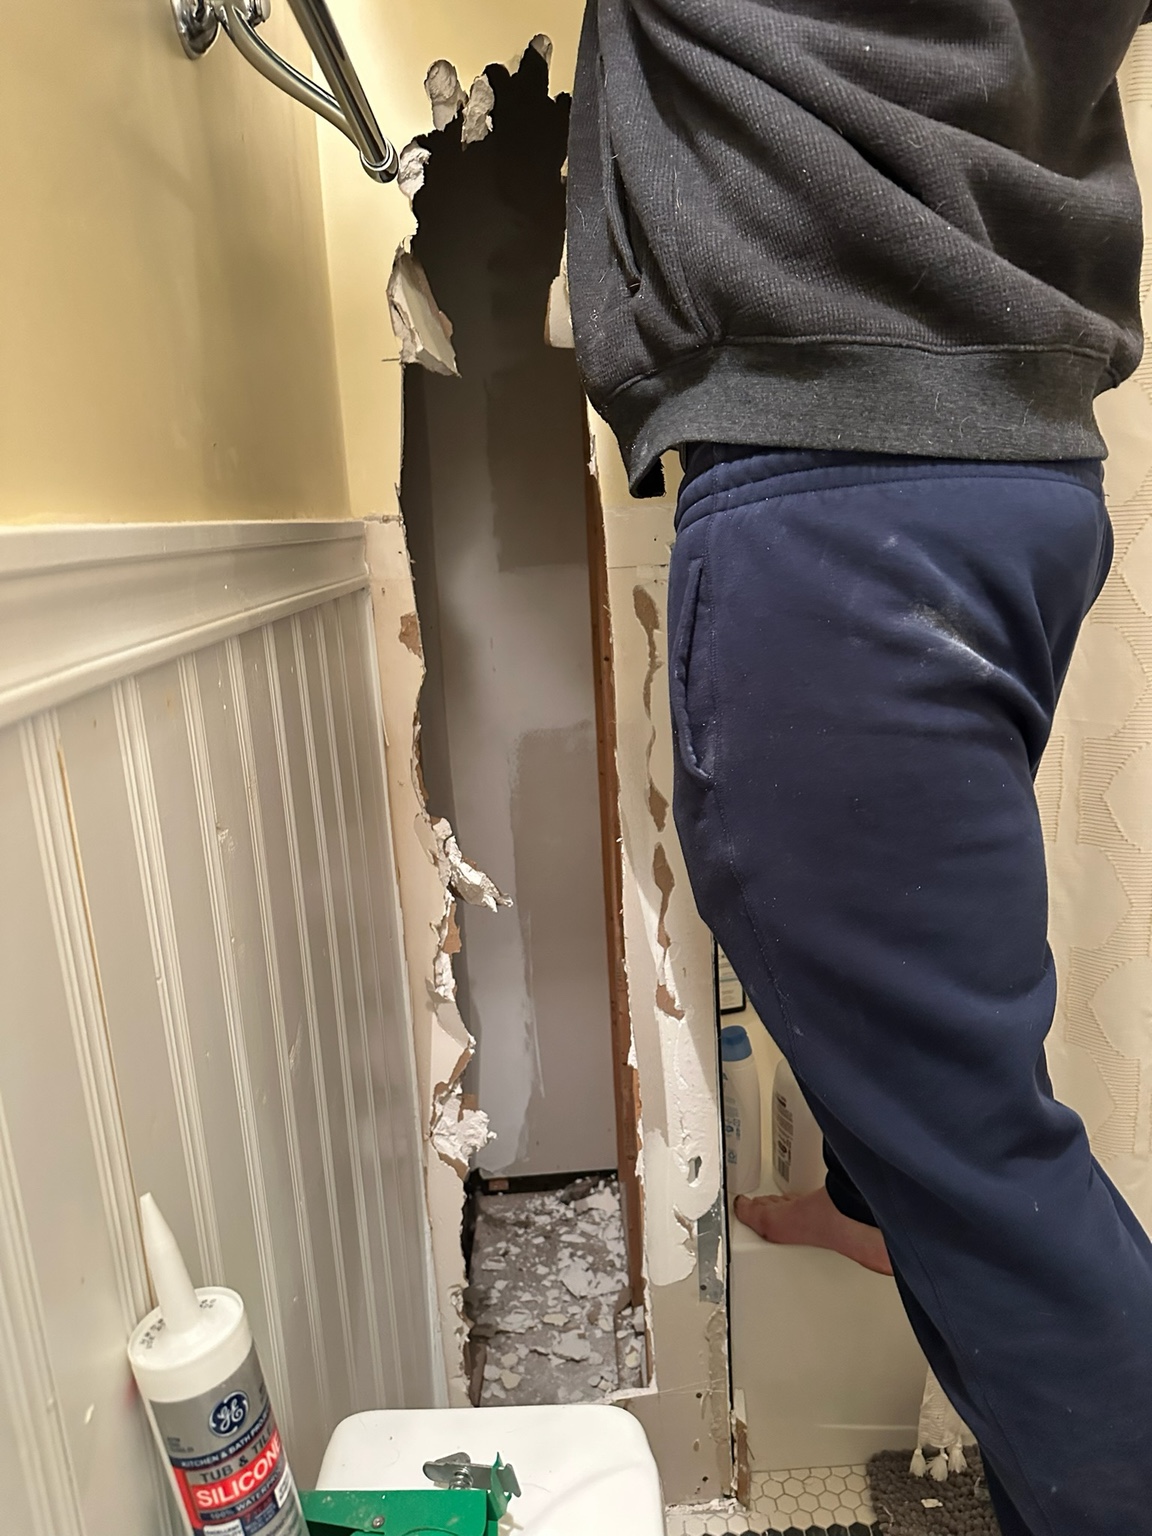
At around 8 p.m., I poked a small hole through the drywall to check. It was hollow. About fifteen minutes later, the drywall was down and the whole opening was exposed. This was not one of those projects that began with a careful Saturday-morning plan.
04 · Building the shelves
The empty space was easy. The brick wall was not.
The cavity gave us the depth we needed, but the wall on the left is the old brick wall shared with the neighboring Federal house. The brick is so old and soft that trying to drive masonry screws into it caused it to crumble. We had to stop treating it like a normal framed wall.
The shelving was built carefully around that limitation, using cleats that were glued and nailed into place rather than relying on screws biting into the brick. What began as an impulsive hole took roughly three weeks to turn into finished, usable storage.
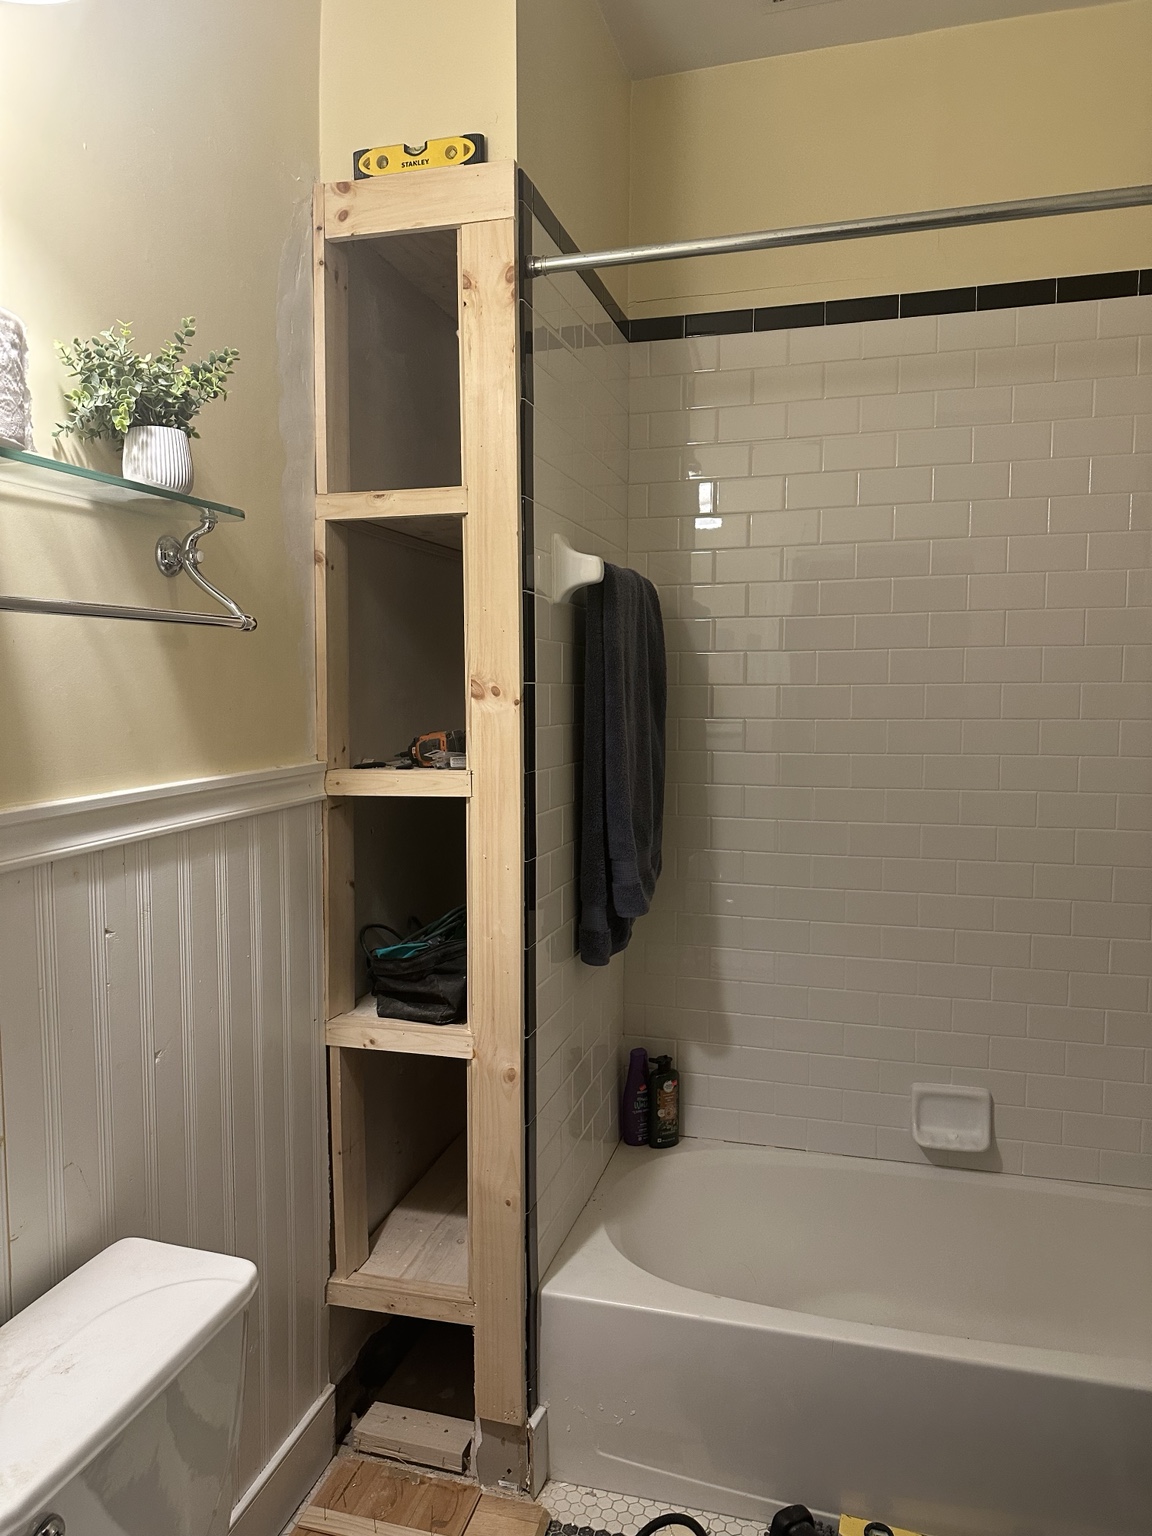
Building the cabinet
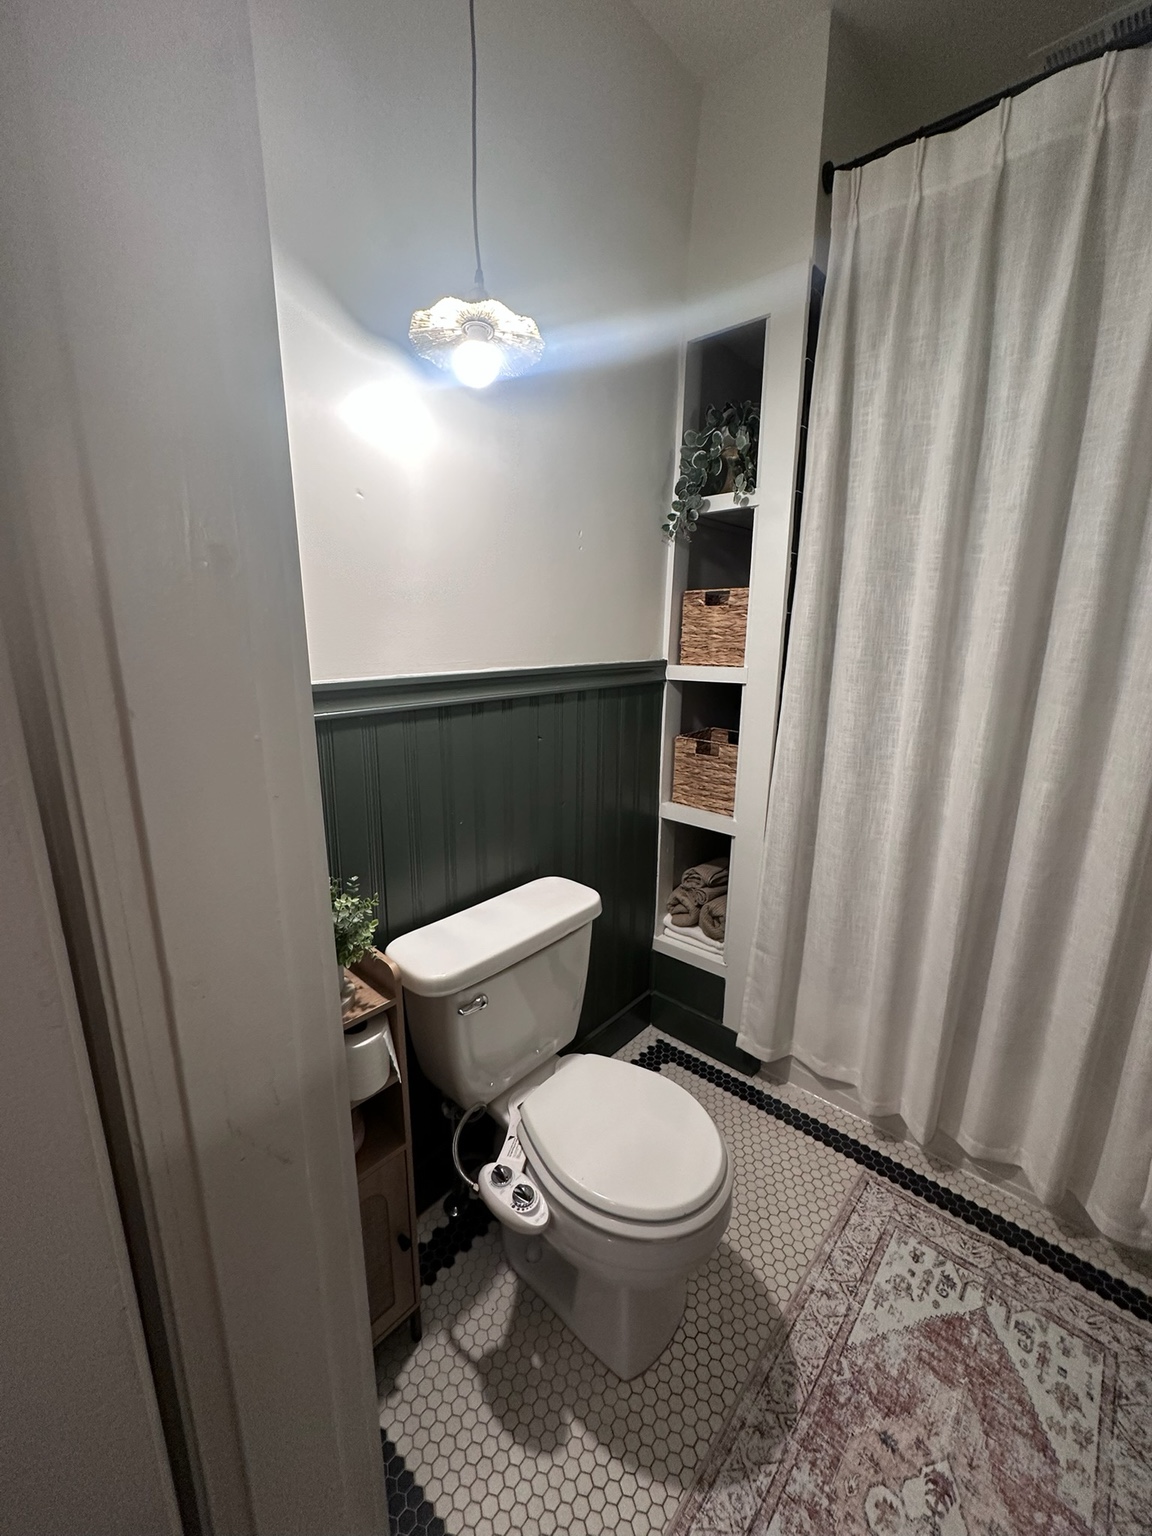
Finished storage
The shelves now hold towels, baskets, and the things that previously had nowhere sensible to go. It is a lot of storage for a strip of wall we were apparently supposed to ignore forever.
05 · The rest of the room
The smaller changes did the rest
We painted, recaulked the shower, replaced the vent, installed better lighting, and brought in a linen shower curtain, a rug, baskets, and a few pieces of art. None of those changes was dramatic on its own. Together, they made the existing tile and floor feel intentional instead of dated.